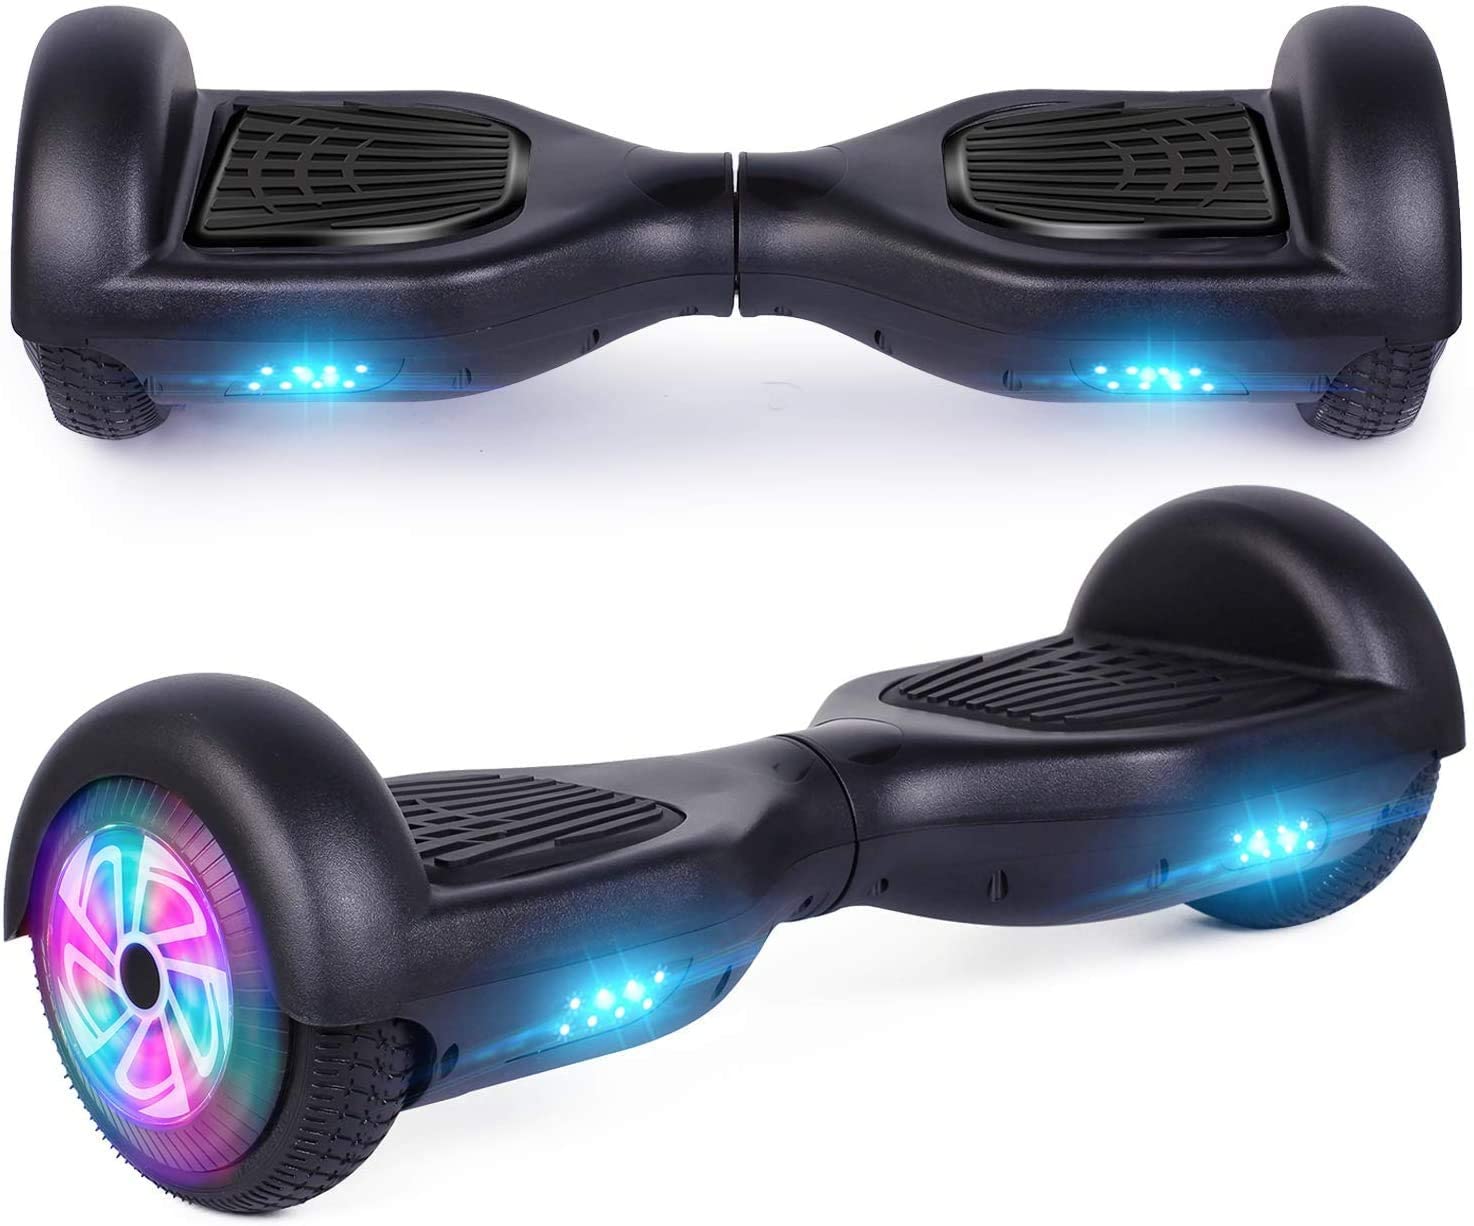
A comfortable hoverboard certainly pleases its users. The excitement of riding a hoverboard is determin by its smooth pace. Therefore maintenance and inspection of hoverboards uk need to be done regularly. One form of maintenance that the owner should do is calibration.
Why is calibration necessary?
Constant use often causes the hoverboard to vibrate, wobble, or travel in an unsteady manner. The sensitivity of the left and right steering can also be disturb. This usually happens because the calibration is out of sync. Another cause may also be the uneven right and left footrests when the user climbs the hoverboard.
However the calibration step is not difficult. This activity can be done in less than 10 minutes. The following are easy steps for calibrating your hoverboard.
Make sure your hoverboards battery is charge. Calibration doesn’t consume a lot of electricity, but it doesn’t hurt to calibrate when your hoverboard’s battery is full. If the power goes out during the calibration process. The hoverboard can be damage and of course the calibration fails.
If your hoverboard is still connected to the power cord, don’t forget to unplug it from the power outlet to be safe.
Perform the calibration on a flat surface
Find a fairly roomy place with a flat surface. The results of hoverboard calibration on an incline will not be good and right. Never calibrate while your hoverboard is upside down! Calibration should also not be done in a narrow place, such as in a room or hallway. A rather spacious place is need so that later the hoverboard calibration results can be tested.
Disable the hoverboard manually
Turn off your hoverboard by pressing the silver button. Make sure that your hoverboard is completely off and not in sleep mode. Then, check again where your hoverboard is. Remember that this calibration must be perform on a perfectly level, level surface! Don’t do it on an incline.
Do not turn off the hoverboard using the remote. People often misunderstand that pressing the remote can turn the hoverboard off completely. In fact the hoverboard doesn’t actually shut down completely, but is in a low power mode.
Press and hold the power button
After making sure that your hoverboard is in a safe position, press and hold the power button for 5-10 seconds. Make sure you hear a “beep” sound before releasing the power button. The hoverboard’s LED light will illuminate to indicate the calibration process is in progress. Calibration will take about 30 seconds. During the process make sure that your hoverboard is stable and doesn’t experience shocks or collisions.
Check the calibration results
After calibration is complete, turn off your hoverboard by pressing the power button again. Then do a trial run by driving your hoverboard around to experience the results. If you’ve done all the steps correctly and your hoverboard is still out of balance it’s most likely a problem with the circuit board or an improper cable connection. To fix this, try opening the hoverboard with a screwdriver and disconnecting the wires. If that doesn’t work, then you need to replace the gyroscope, connector, or motherboard.
Easy, right? Apart from the manual method, there are also hoverboard for sale that have a calibration feature via Bluetooth or remote control. Regarding these features, please read the user manual that is usually available in the box. Some models may have different calibration methods, but, in general, almost all hoverboards have the same calibration system.
Recommended Article: Guest Posting Services a Business? Explain


